Toilet Repair and Installation
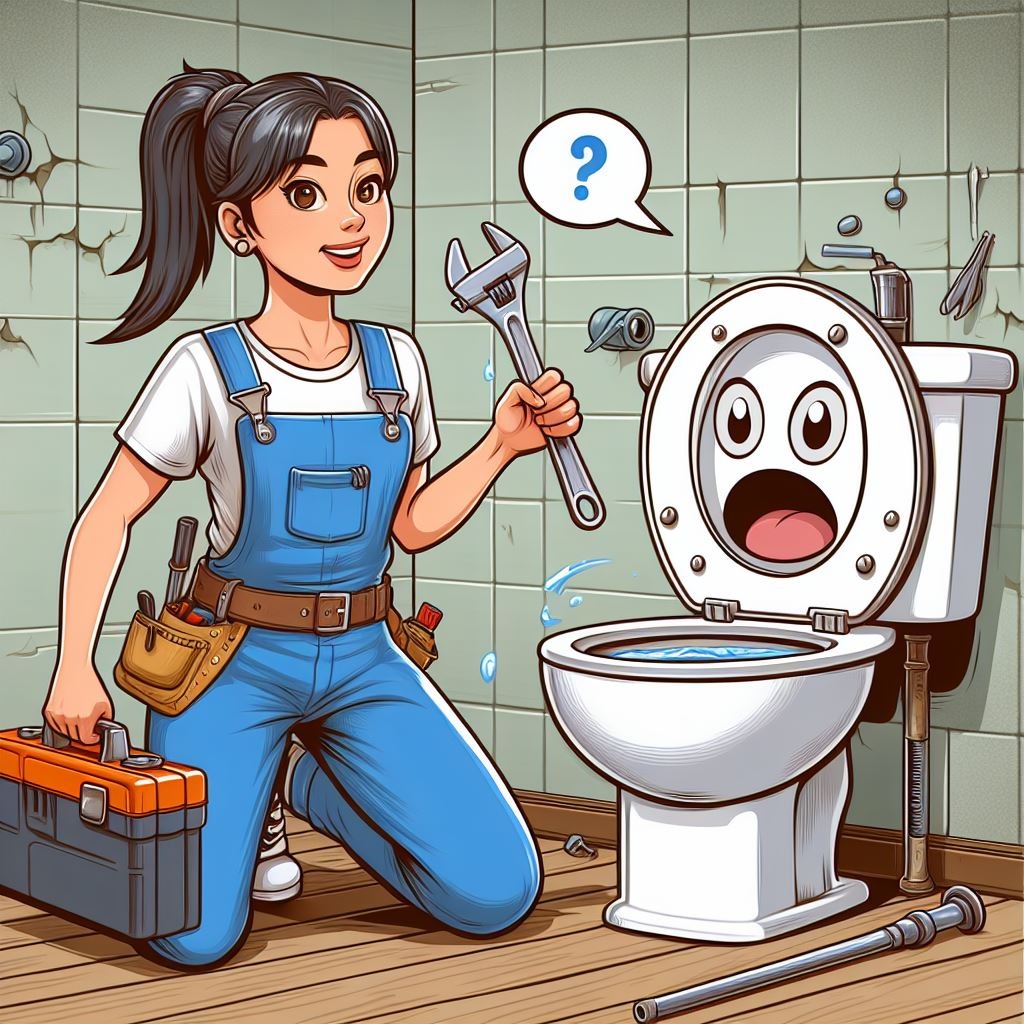
When it comes to toilet repair and installation, you might be thinking it’s too complicated or best left to professionals. However, with a bit of guidance, you’ll find that handling common toilet issues and even setting up a new one can be quite manageable. From fixing leaks to installing a new toilet properly, understanding the basics and having the right tools at your disposal can make all the difference. So, let’s explore some key tips and insights to help you navigate the world of toilet maintenance and upgrades.
Key Takeaways
- Identify and fix common toilet problems like leaks and running water.
- Use tools like wrenches, plungers, and screwdrivers for repairs.
- Steps for fixing leaky toilets include inspecting, disconnecting, and replacing parts.
- Install a new toilet by preparing the floor, securing it, and connecting water supply.
- Maintain toilets by regular inspections, cleaning, and addressing leaks promptly.
Common Toilet Problems
If your toilet is constantly running or making strange noises, it may be experiencing common problems that can often be resolved with simple repairs. One common issue is a faulty flapper that isn’t sealing properly, causing water to continuously leak into the bowl. This can usually be fixed by adjusting or replacing the flapper.
Another frequent problem is a loose or stuck fill valve, which is responsible for regulating the water level in the tank. Tightening or freeing the fill valve can usually resolve this issue.
Additionally, a malfunctioning float can lead to water overflowing into the overflow tube. Adjusting the float arm can help prevent this from happening.
Sometimes, mineral build-up in the flush valve can cause your toilet to run non-stop. Cleaning or replacing the flush valve can often rectify this problem.
Tools Needed for Toilet Repair
When undertaking toilet repair, having the right tools is essential for efficiently resolving common issues and ensuring proper functionality.
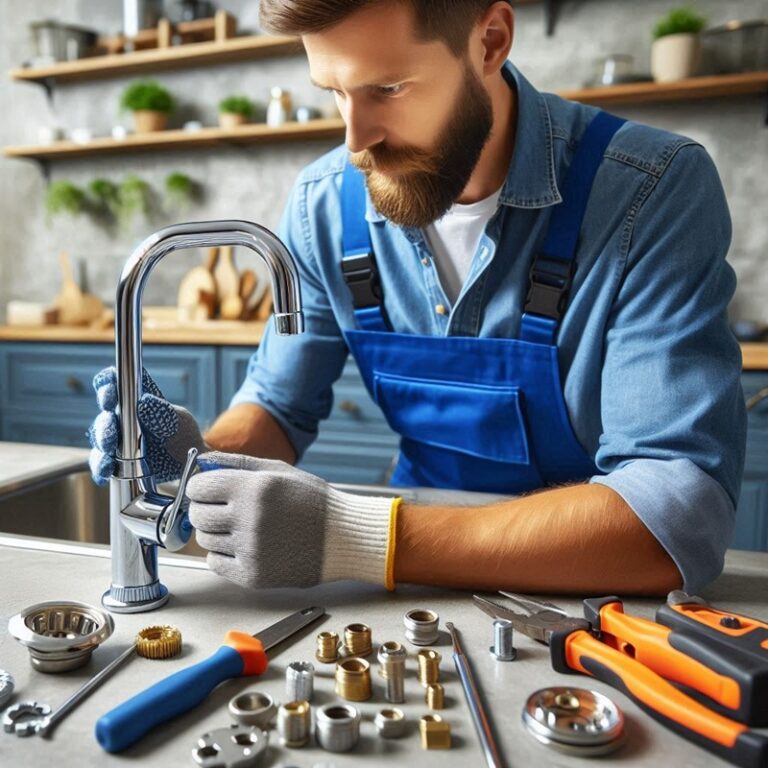
Here are the tools you’ll need for most toilet repair tasks:
- Adjustable Wrench: Used for securing bolts and nuts during toilet installation or repairs.
- Plunger: Essential for clearing clogs in the toilet drain or the drainpipe connected to it.
- Screwdriver Set: Flathead and Phillips screwdrivers are handy for various tasks like removing the tank lid or securing components.
- Closet Auger: Helps in removing stubborn clogs deep within the drainpipe.
- Adjustable Pliers: Useful for tightening or loosening various nuts and bolts.
- Hacksaw: Sometimes needed for cutting bolts or pipes during repairs.
- Bucket: Useful for holding water or catching leaks during repairs.
- Gloves: Protect your hands from dirt, grime, and cleaning chemicals.
Having these tools on hand will equip you to tackle most common toilet repair issues effectively.
Steps for Fixing a Leaky Toilet
To address a leaky toilet, begin by identifying the source of the leak using visual inspection and checking common leak points such as the base and connections. First, inspect the toilet’s base for any water accumulation, as this could indicate a wax ring or seal issue. Next, examine the water supply line and the bolts connecting the tank to the bowl. Tighten any loose bolts or connections that may be causing the leak.
Once you’ve identified the source of the leak, turn off the water supply to the toilet by shutting the valve located behind the toilet. Flush the toilet to drain the remaining water from the tank and bowl. Use a wrench to disconnect the water supply line and remove the nuts securing the toilet base. Carefully lift the toilet off the floor and inspect the wax ring for any damage. Replace the wax ring if necessary, ensuring a proper seal. Reinstall the toilet by reversing the removal steps, making sure everything is securely tightened. Turn the water supply back on and test the toilet for leaks.
Installing a New Toilet
Begin the installation process by preparing the area where the new toilet will be placed. Ensure the floor is clean and level to provide a stable base for the toilet.
Start by attaching the wax ring to the flange on the floor. Carefully lift the new toilet bowl and align it with the flange, pressing it down to set the wax ring. Secure the toilet in place by tightening the bolts on the base.
Next, install the tank by placing the rubber gasket over the hole at the bottom of the tank, then lowering it onto the bowl and aligning the bolts. Attach the tank to the bowl with nuts and washers, being careful not to overtighten.
Connect the water supply line to the bottom of the tank and turn on the water to fill the tank. Check for any leaks and make sure the toilet flushes properly before sealing the base with caulk.
Toilet Maintenance Tips
For effective toilet maintenance, regularly inspect all components for signs of wear or damage. Start by checking the tank and bowl for any leaks. Look for water on the floor, around the base, or dripping from the tank. If you notice any leaks, it’s important to address them promptly to prevent further damage.
Next, test the flush mechanism to ensure it’s working correctly. Flush the toilet and observe if the water stops running once the tank is full. If the water continues to run, there may be an issue with the flapper or fill valve that needs attention.
Additionally, clean the toilet regularly to prevent build-up of grime and mineral deposits. Use a non-abrasive cleaner to avoid damaging the porcelain. You can also add vinegar to the tank to help remove any mineral build-up inside.


